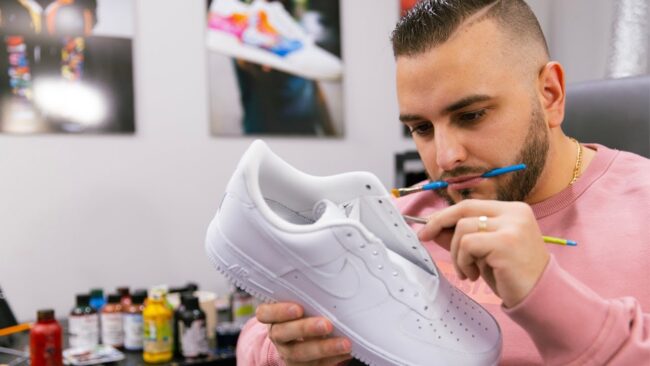
Whether you got bored with your plain old white sneakers or if you simply cannot find something that suits your needs in a store, one of the easiest things that you could choose to do is to customize your footwear by yourself. Besides allowing you to have a unique pair of sneakers, it’ll also allow you to stand out from the crowd.
But, if you never had to go through this process before, you might be wondering – what are some of the most creative ways for customizing my sneakers? Luckily for all individuals that are wondering the same thing, the article below could help. Let’s take a look at what you can choose to do:
1. Add Fabric to The Tongues
You’ll Need: Colorful Fabric, a Paint Brush, Scissors, and Glue
One of the easiest things that you could do is to add colorful fabric to your Converse-type sneakers. To start the process, you should remove the laces and then, you’ll want to cut out a piece of fabric that is a little bit larger than the tongue. From there, you have to cover the tongue with glue and simply place the fabric over it.
If there is access fabric hanging around, you should wrap it on the inside and simply glue it together with more glue. Of course, you should repeat it on both of the sneakers, let them dry entirely, and then re-lace them. This is one of the easiest ways to breathe life into your old shoes.
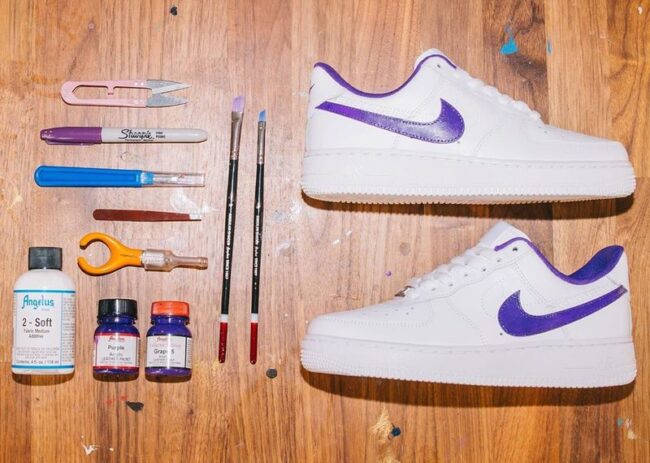
2. Draw Flowers + Stripes
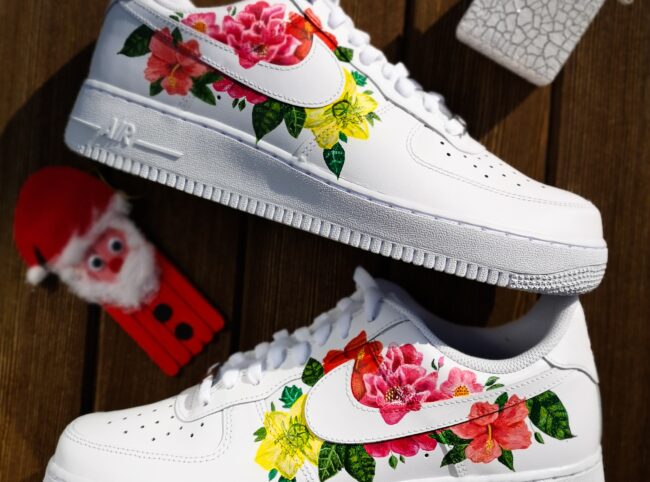
You’ll Need: Fabric Markers, a Pencil, and a Ruler
The first step for this customization option is to choose the pattern you want to draw. It’s better if you first draw it out on paper so that you can decide on the size and placement of the drawing. Once you’re done, you can use a pencil to draw the patterns lightly on the shoes.
When you’re satisfied with the stencil, you can start coloring. Keep in mind, you’ll want to work on one color at a time. For instance, if you’re drawing flowers with black centers, you should color all centers first, and then all the red, pink, and so on. Once you’re done, you can start making the stripes.
For this, you’ll have to first decide how wide you want them to be and once you do, you can start drawing them on the sneakers by using a ruler. You could also use a flexible curve for this, but if you don’t have it, a ruler will be just fine. Lastly, when you like how the stripes fit the sneakers, you can start coloring them.
3. Add a Bit of Sparkle
You’ll Need: Large or Small Stones, Glue
If you do a bit of digging online, you’ll find a lot of DIY stores that sell packages with colorful large or small decorative stones. They also come in a wide range of shapes and sizes, so, you’ll find something that is suitable for your DIY project.
Before you start gluing, you should divide them into two groups so that you have enough for both shoes. Once you do, you should stuff your sneakers with some paper because it’ll be easier for you to glue the stones.
You can opt for whatever design you want, for instance, you can make a heart pattern with the stones or you could make patterns such as these ones as well. It’s extremely easy and it’ll make your sneakers look like they came straight out of a designer store.
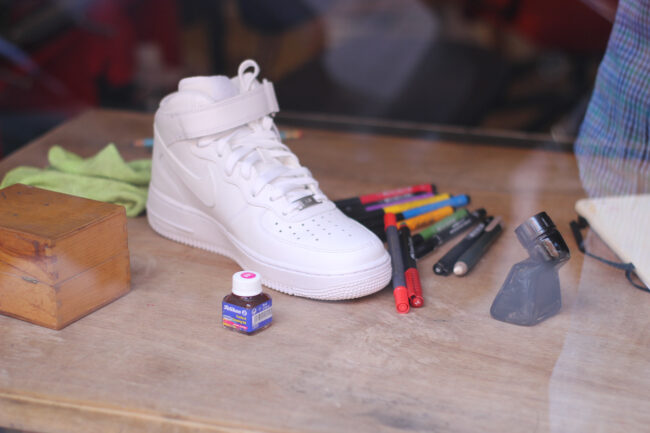
4. Polka Dots
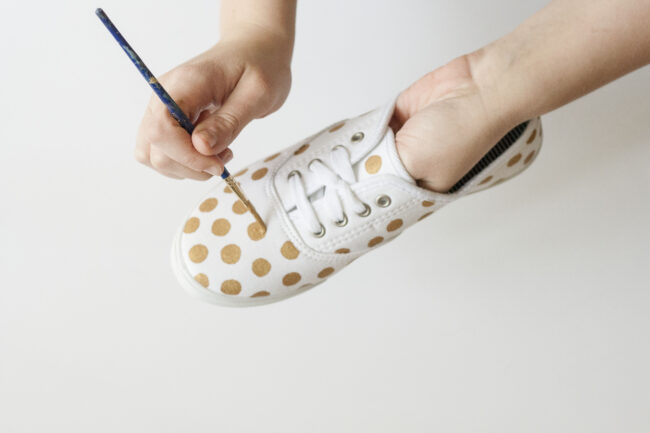
You’ll Need: A Paint Brush and Paint
If you have a pair of white sneakers that have some scratches on them, you could completely transform them with a little bit of paint. This DIY project is, perhaps, the easiest and cheapest one on this list, mostly because you probably have some paint and a paintbrush at your home.
Before you start, you should stuff your shoes with some paper, especially if you’re planning on painting the polka dots by hand. You could also use a round foam stomp, mostly because the dots will be even. Simply press or draw the dots where you want them to be, leave them to dry out, and that’s it!
5. Stripes
You’ll Need: Paint, a Paint Brush, and Duct Tape
By using duct tape, you should mark where you want the stripes to be. Keep in mind, you must press the tape into the creases properly since this will prevent the paint from reaching other areas and messing up your design. When you’re done, you should use acrylic paint and a paintbrush to paint the design.
Depending on the material you’re working on, you might need a few layers of paint, so, ensure that you buy enough of it. Acrylic paint dries quickly, hence, once a few minutes pass, remove the tape, and you will have a new and unique pair of sneakers. You can choose to place the stripes where ever you want, even on the tongues.
6. Glitter
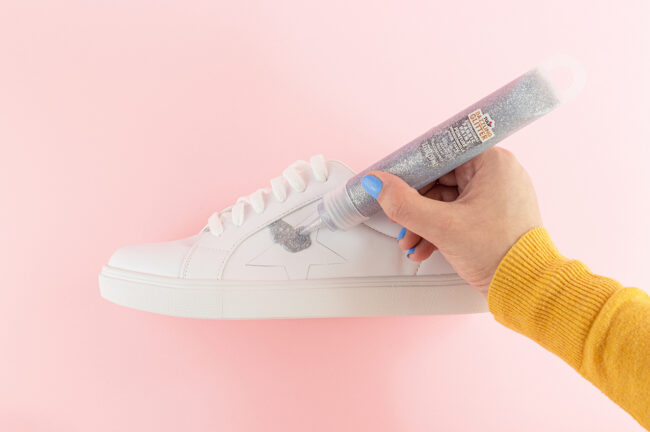
You’ll Need: Glitter, Glue, and a Brush
If you like glitter, you can use it for customizing your sneakers. Depending on your preferences, you can choose whatever color you want and you can even blend your own color. Start by mixing the glue with the glitter, and once you are done, you should work on small sections of your sneakers while ensuring that you evenly apply the mixture onto the sneakers.
Again, you should stuff the shoes with paper so that it’ll be easier for you to work on them. After you apply the first coat, you should leave them to dry and when they do, you might need to apply a second layer in case you missed some sections. When they’re dry, you can use a different brush to remove any access materials, and that’s it!
Conclusion
If you have a pair of old sneakers, there is a wide range of things that you could choose to do, all of which will make them look more appealing. Besides allowing you to wear them for another season, the DIY projects we mentioned above will also provide you with a unique pair of sneakers, meaning that you could stand out from the crowd.
So, now that you’re aware of all the things that you can choose to do, you shouldn’t waste any more of your time. Instead, you should go back to the beginning of our list, go through it once again, determine which of the DIY projects you like best, and then start working on your new shoes!